Rev: 0.72, 12.Feb.07 08:48:43
[Caution: This recipe is still under construction--steal at your own risk!]
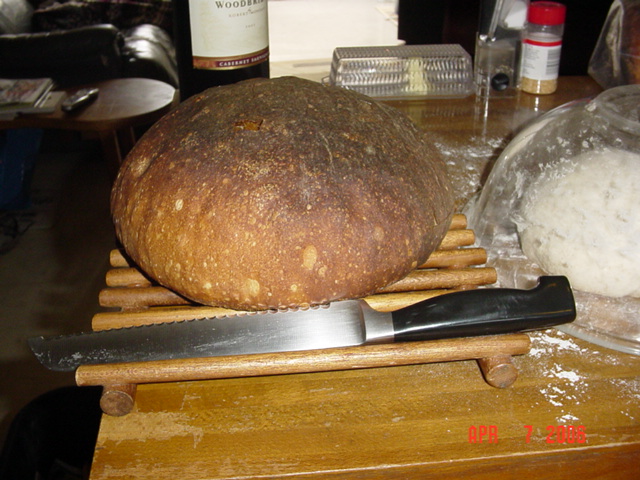
This recipe is yet another version of "classic San Francisco sourdough bread". By far, this has been the best, most flavorful recipe I've yet run across. This recipe is a modification of SD-VI intended to make it both smaller, AND more sour. This recipe will make a bit less than 1Kg. of lean, white, San Francisco sourdough loaf picture, here. Read more about the origin of this recipe here.
Leave at room temperature (70-80F) all day long.
Add these ingredients to the sponge created in the previous step, and allow to ferment overnight.
Add these ingredients to the sponge created in the previous step, and allow to ferment at least an hour or two.
Add about 1/2 the total final flour. Allow to rest for 30 minutes.
Dry mix the rest of the flour and the salt, and add to the sponge created previously. Next, if you simply must use a mixer, skip the next paragraph.
These are the "no mixer" instructions: Do 4-6 stretch & folds or flatten & folds with 15-30 minute intervals. I do these on the counter, covering the dough with the inverted mixing bowl. Go to "Shaping and Baking".
When your dough has risen so that it’s lighter and doesn’t spring back when you poke it with a finger, it’s time to begin the shaping process. Gently, using your knuckles, flatten the dough. You don’t really want to punch it down. Just knocking out the biggest bubbles is enough. Dividing, if you do it, and/or shaping it will take care of getting rid of any excess bubbles. Let it rest, covered, for about 15 minutes or so.
For a round or oval shape, pick up the dough and gently pull the edges under, pinching firmly on the underside.
Cover and allow to rise in a warm (68°-85° F.) non-drafty place again. Since I always bake into a cold oven, I do this in the oven. It keeps the bread out of the way, and has the added benefit of having a light if the final rising temperature is cooler than I'd like. This should take from one to three hours, depending on the temperature, the characteristics of your culture, and your flour. Always expect—and allow for—your sourdough to rise much more slowly than breads built with commercial yeast.
When your unbaked loaf has risen to about 2 or more times its original size, it’s
time to bake. Coupe if desired. Lightly mist if desired (I usually
don't). Turn
on oven and Bake 425° F for 45-60
minutes.
NB: if your loaf shows significant "oven-spring" it
means that you could have let the final rise go on longer. The longer the
rise, the better the taste.
The original author of this recipe says that she's discovered through trial and error that if you want REALLY active sourdough starter, you feed it with a volume of flour and water equal to or more than the volume of starter you're feeding--in other words, a really big meal for the little critters. And you keep doing this for two or three more feedings before making your dough. This REALLY active yeast produces bread that has a 'nice' crust (but not as thick and hard) and a softer center. And the bread doesn't taste as sour.
NB: On the other hand, if you make the volume of the last two or three feedings before you begin to make the dough only about half the volume of the starter you're feeding, then the resulting bread is much crustier and the interior of the bread has much more body—it's not soft at all. And the bread tastes more sour.
Another tip for making your sourdough more sour is to add about a tablespoon or two of plain rye flour to the sponge for each cup of flour you're using. It's important to remember that longer, slower, cooler proofing's and risings contribute heavily to that wonderful sourdough flavor.
To convert US/Imperial measurements to metric, go to http://www.gourmetsleuth.com/conversions.htm.
The original process embodied in this recipe is from Ms. Linda Wilbourne, and can be found at: http://www.thewilbournegroup.com/Sourdough/SourdoughStarterHelp.htm. In addition to this recipe, she also sells some accoutrements and sourdough starter. Although I've still not gotten the sour I seek, her starter seems to work just fine...on par with my other starters. The previous iteration of this file can be found here.